a super simple diy
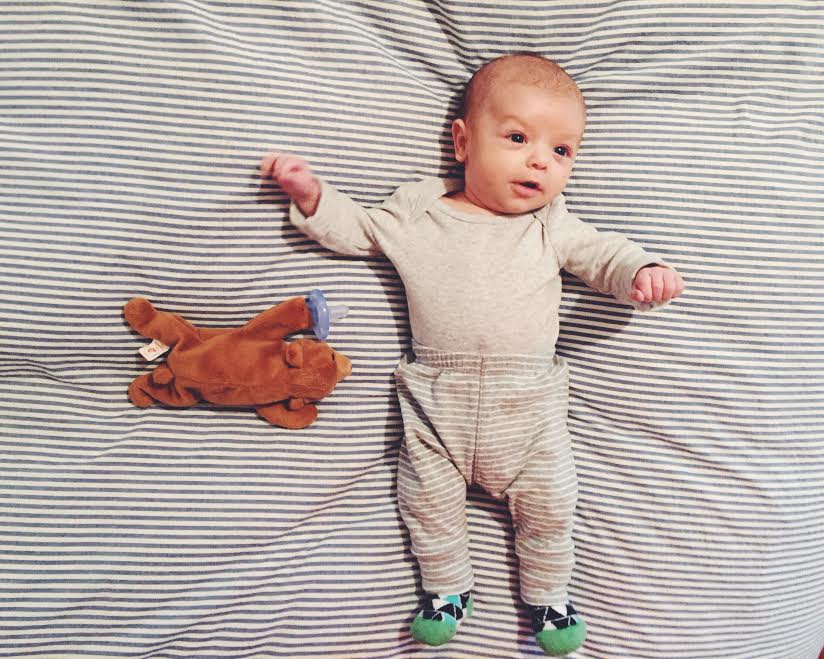
If you are a child of the '90's you likely have a bin of beanie babies hiding at your parents house. I sure do. You can use such beanie babies to make this really easy DIY accessory for your baby.
The pacifier, chupón in our house, is something that we are very happy to be using. It provides some extra quiet and soothing to our little guy. We refer to it as a 'chupón' as that is how you say it in Spanish. My madre called it a chupón as I grew up so naturally that is just what I call it.
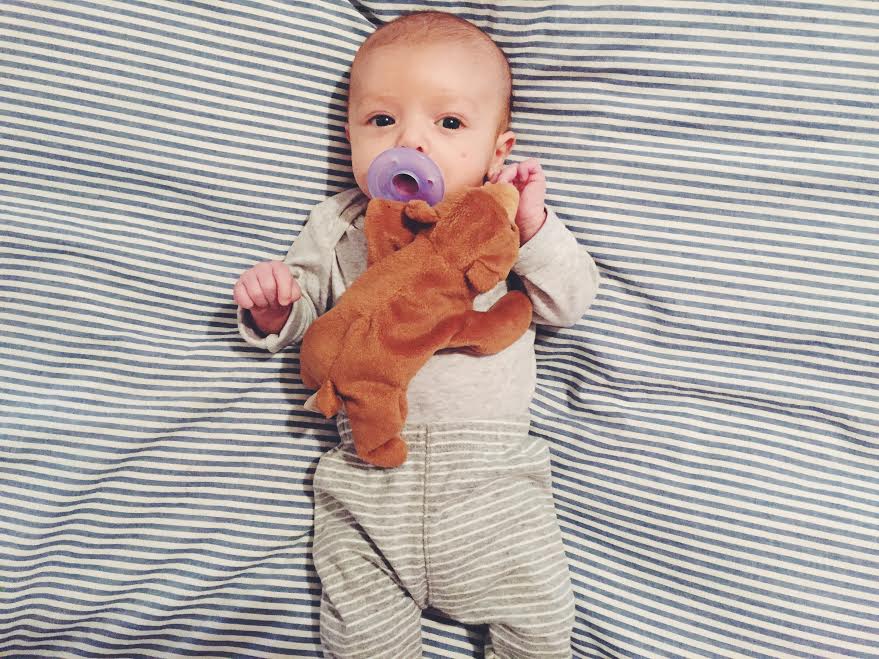
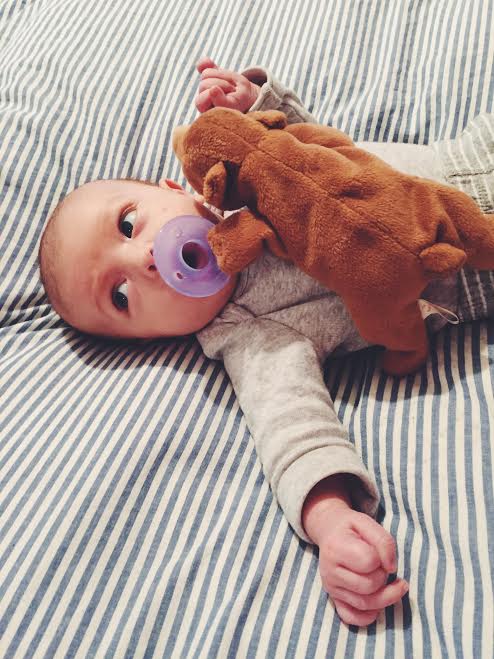
Mo is too young to keep the chupón secured in his mouth so to stop it from dropping and fallout out of his mouth I thought to get him a Wubbanub, $16 pacifiers with small stuffed animals attached. What I had heard was that the stuffed animal rests on baby's chest and keeps the chupón in place. Plus babies like holding on to the arms and legs of the stuffed animal.
As soon as I brought the item home I realized that I could make my own with the stash of beanies I had at my parents. Below is the super easy instructions to make your own.
DIY BEANIE BABY CHUPÓN
MATERIALS
- beanie baby plush toy
- needle & thread
- chupón
DIRECTIONS
- Choose the part of the toy that you want to attach the chupón. Make sure there is enough room to fold in the fabric of the top so that handle on the chupón has a little pocket to fit into.
- Using the needle and thread begin to sew the chupón into the pocket. I did about 6 stitches and it is secure. Thats it, now you are done.
I have heard from a few parents that weaning your kid off of the chupón is actually quite easier with this type. When the time comes you can just cut off the chupón and your kid still has the security of the toy, just not the chupón.
I am proud of this litle DIY and like the fact that I am up cycling some toys from my childhood. Look out friends, this DIY will be coming to a baby shower or gift near you!
xx Ly


